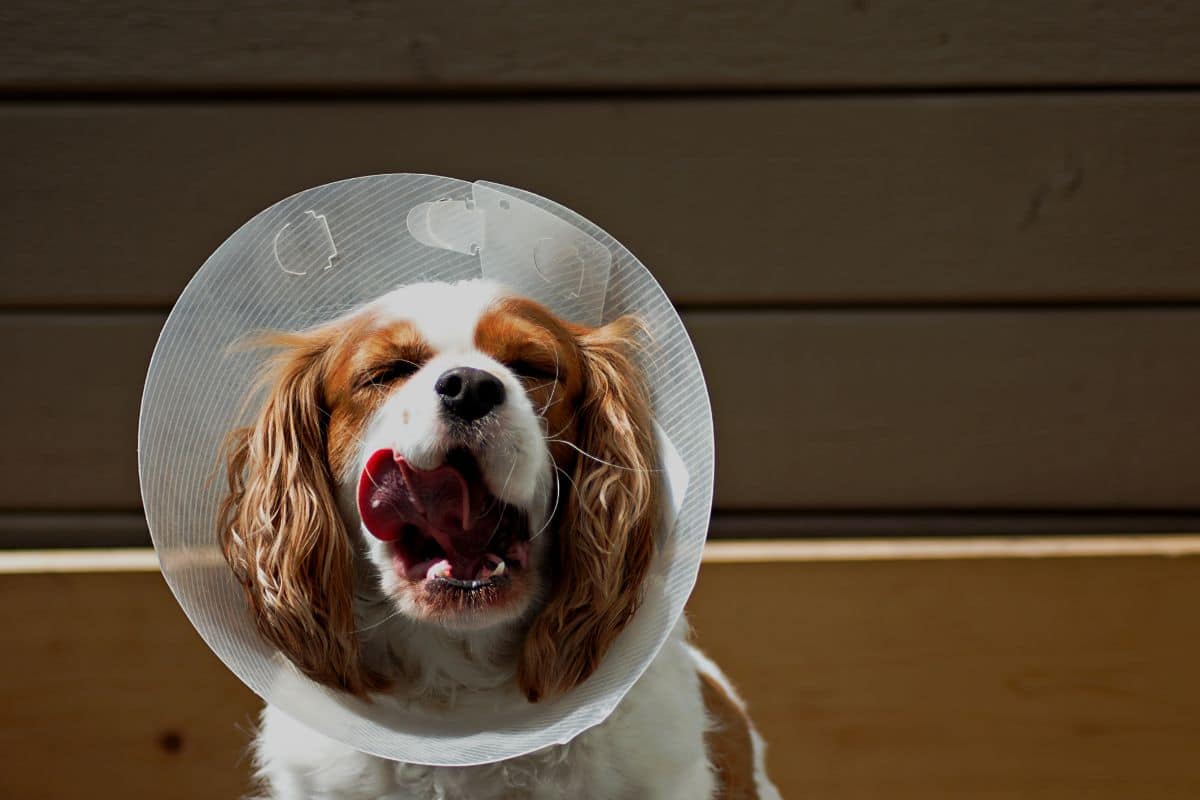
While no one expects it to happen to their dog, and no one sees it coming, there is a good chance that maybe a few times in your dog’s life, they will have to wear a plastic cone, or more commonly called; ‘the cone of shame’.
These cones have a bad reputation since they obviously make your dog look and feel ridiculous, and it can be a difficult job to get your dog to want to wear it.
Because of this, many people suggest alternative options if your dog absolutely hates wearing one of these.
So, if your dog has to wear one of these for however long, but you want to explore an alternative option, you have come to the right place.
So, read on if you are looking to find a DIY alternative to having to put your dog in a cone of shame!
Warning
It is worth noting that while this alternative can be effective, and there are other alternatives out there which can also be effective, there is no substitute for plastic cones which will be as effective as they are.
While your dog might find them uncomfortable, they do the job they need to well, and are used so widely for a reason.
So, if your vet has recommended that your dog should wear their plastic collar all the time, and that you are not using an alternative, do not take this guide as an excuse to ignore this.
When it comes to looking after your dog, it is always best to listen to your vet as they will simply have the best knowledge on the subject.
Homemade Dog Cone Alternatives
There are many different ways people try to get around putting their dog in a cone of shame, and some of the most common ways to do this is by DIY-ing a solution and putting something together to recreate the effect of a plastic cone for your dog.
There are many different versions of this idea online available to you, but a lot are not as effective as they seem, or will be too awkward to pull off, however, we think we have found the best option!
Meet The Towel Dog Collar

The most common reason why dogs are asked to wear a plastic cone is because the owner needs to stop the dog from licking specific areas, so the dog can heal properly from a treatment.
This does not always mean they have to wear a plastic cone, but need some method of obstructing them from reaching the area they should avoid.
Because of this, using a homemade version may or may not be viable depending on how easy it is for the dog to access the area which it should avoid, as some homemade versions will simply not be effective enough.
In our effort to make a substitute which will be more comfortable for the dog, we decided to use a towel collar design which will make it a lot easier for the dog to sleep in and will generally be more comfortable.
These collars are designed to almost mimic a neck brace worn by humans which means that the dog will not be able to turn its neck in certain directions.
So, while this means their movement is less obstructed, they will be much more comfortable.
There are some collars which attempt to do this but they dig into the shoulders of many different types of dog, so we thought that making one ourselves would be a much more effective solution at fixing this issue.
By using a towel which is thick enough, we were able to make a collar restrictive enough to get the job done, but not uncomfortable or painful for the dog.
Doing this sometimes takes trial and error, especially since everyone’s dog is a different size and has different behaviours. Because of this, this DIY may be more effective on some dogs than it will others.
Be prepared to have a bit of failure before getting this idea perfect and you will need to keep trying until you have a fit you are comfortable with.
This idea does not need much equipment, so if you want to know how to make it yourself, keep reading!
How To Create A Towel Dog Collar?
The only things you need to make this is a thick enough towel, some duct tape, as well as some food to distract your dog and keep them in place while putting this together, we used peanut butter since it is easy to work with.
You may need someone else to help you hold the food in place to keep your dog’s neck in the correct position.
Step One: Choose A Towel Size
You will want to pick a towel which is thick enough, but can also be folded easily into thirds but will not cover too much or too little space over your dog’s neck.
You may not need a super thick towel if you are working with a smaller dog, so test out some different options before you commit to one.
Step Two: Fold Towel
After you are happy with the towel you have selected, you will want to fold the towel up into thirds, along its length not its width. This makes it so you will be able to wrap the towel around the neck of your dog more slowly.
Step Three: Don’t Wrap Too Tightly
After your dog is distracted and in place with the food, you can start to wrap the towel around the neck of your dog.
You will want to ensure that this towel is not getting too tight, because if so your dog could choke or could even have breathing issues.
If you make it too tight the dog will also experience some neck pain too. After it is wrapped you will want to ensure that you can still slip your arm under the towel, or for smaller dogs, just a couple of fingers.
This is the most important stage and you want to ensure that it is not too tight.
Step Four: Tape In Place
Finally, you will want to wrap your duct tape around 2 thirds of your towel. Do this by putting one strip at the top part of the towel, the second on the bottom, and then the last one around the middle.
Also check that the towel collar has not gotten too tight after being taped.
Summary
If your dog struggles with plastic cones, this is a great way to discourage them from licking, it will take some trial and error to get it perfect though.


